

A plastic product can look complete in CAD and still fail when it reaches the molding machine. Uneven shrinkage, weak weld lines, difficult ejection, incorrect material selection, and unstable dimensions may not appear in a 3D-printed or CNC-machined sample. Prototype injection molding closes this gap by producing representative parts with the intended thermoplastic and an actual metal mold before a full production tool is approved.
This process is particularly useful for automotive structural components, medical housings, communication equipment, precision instruments, and other products that require realistic functional testing. It gives engineers physical evidence about both the component design and the planned manufacturing method.
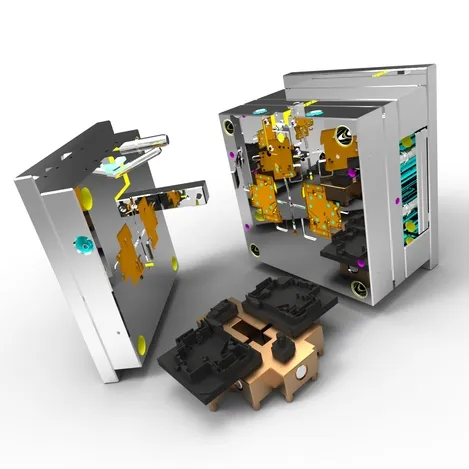
What Is Prototype Injection Molding?
Prototype injection molding uses a simplified injection mold to manufacture a limited quantity of production-representative plastic parts. The mold may have one cavity, a standard mold base, manual inserts, simplified cooling, or pre-hardened steel. These choices can reduce tooling investment and manufacturing time while preserving the key conditions needed to evaluate resin flow, packing, cooling, shrinkage, and ejection.
Unlike a purely visual prototype, prototype plastic injection molding can use the same resin grade planned for commercial production. The resulting parts can therefore be evaluated for dimensional stability, impact resistance, heat performance, chemical resistance, snap-fit behavior, sealing, and assembly repeatability.
Why Printed and Machined Samples Are Not Always Enough
3D printing is excellent for checking shape, ergonomics, packaging space, and early assembly concepts. CNC machining can deliver accurate parts from engineering plastics or metals. However, neither process duplicates how molten resin flows through a gate, meets at a weld line, packs around ribs, or cools against a mold surface.
This difference matters when a part includes long flow paths, thin walls, deep ribs, screw bosses, glass-fiber-reinforced resin, tight cosmetic requirements, or critical sealing features. A printed housing may remain flat, while the molded version may warp because cooling is unbalanced. A machined snap-fit may work correctly, while the molded feature may become brittle because fiber orientation or molded-in stress changes its behavior.
What Prototype Molds Can Validate
Well-planned prototype molds can answer several important questions before production tooling begins:
· Can the cavity fill without excessive pressure?
· Is the selected gate location acceptable?
· Are weld lines positioned away from critical loads?
· Does the part release smoothly from the mold?
· Are draft angles sufficient for the selected texture?
· Do ribs, bosses, clips, and sealing features perform correctly?
· Does the selected material maintain dimensions after conditioning?
· Can the process produce repeatable injection molded parts?
These findings help the engineering team improve the part while changes are still relatively economical.
Typical Development Workflow
A practical workflow begins with a design review and an injection molding DFM analysis. The manufacturer checks wall thickness, draft, undercuts, parting lines, gate options, ejection, cooling, tolerances, and material behavior. After the design is updated, the prototype mold is manufactured and sampled.
Initial molded parts are measured and tested. Tool corrections or processing adjustments are then completed before a larger validation batch is produced. Approved information—including the resin, shrinkage results, gate performance, process window, inspection data, and tool changes—can be transferred to the production mold program. This creates a controlled route from rapid injection molding prototyping to low-volume or mass production.
Main Factors Affecting Injection Molding Prototype Cost
Injection molding prototype cost is not determined by part size alone. The largest cost drivers usually include mold complexity, tool material, surface finish, tolerance, number of cavities, side actions, expected mold life, resin requirements, and the amount of inspection.
A simple open-and-close housing can normally use a less complex tool than a component with multiple undercuts, threaded inserts, transparent surfaces, or precision shutoffs. Choosing the lowest quoted price without reviewing these requirements may create additional modification, testing, and delay costs later.
Process Selection Guide
For early concept checks, 3D printing is usually the fastest choice. CNC machining is useful for precision functional samples. Vacuum casting can support cosmetic samples and short runs in substitute polyurethane. Prototype injection molding is the stronger option when production resin, true molding behavior, repeatable assemblies, or pilot quantities are required. A production mold becomes appropriate when the design and forecast are stable enough to justify a longer-life, more automated tool.
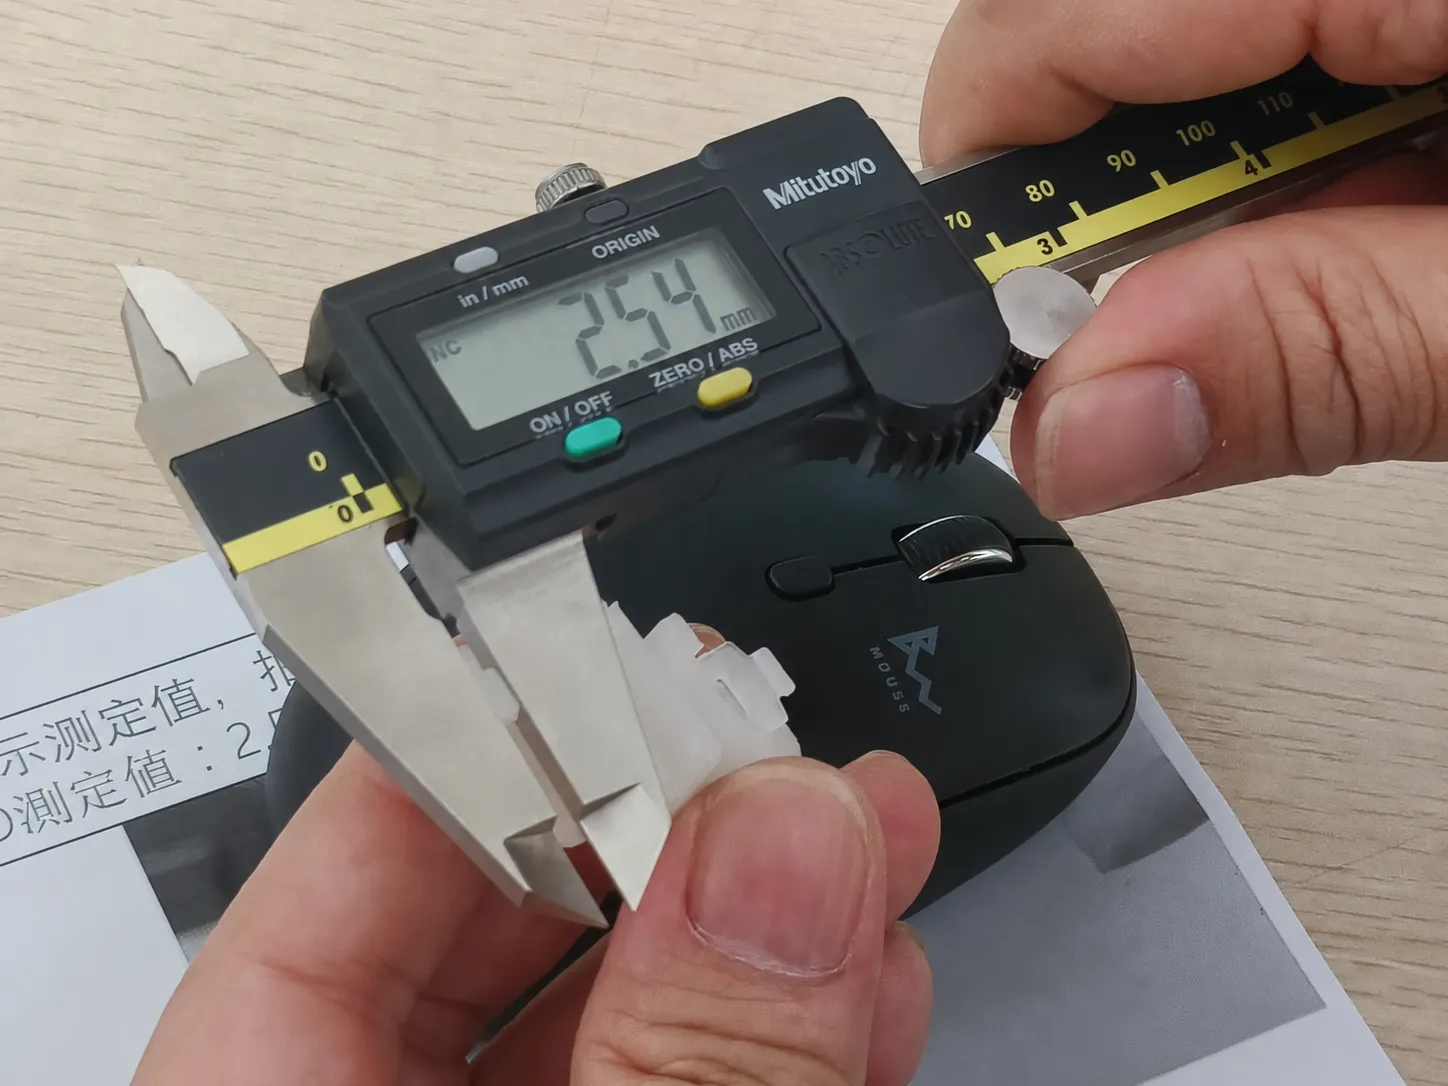
Prototype Process Comparison
Process | Best Use | Production-Representative Result |
3D printing | Concept and geometry checks | Limited |
CNC machining | Precision functional samples | Material can match; molding behavior cannot |
Prototype injection molding | Material and process validation | Yes |
Production tooling | Stable volume manufacturing | Yes |
When to Move into Production
A project is ready to move forward when the molded parts meet dimensional, cosmetic, assembly, and functional requirements across repeated cycles. The team should also confirm the final resin, acceptable process window, critical inspection method, packaging conditions, and expected annual demand.
At this stage, the prototype mold may continue supporting low-volume supply, or the validated design can move into a dedicated production tool. The correct choice depends on quantity, cycle-time targets, automation, cavity count, and unit-cost objectives.
Conclusion
Prototype injection molding is more than a faster way to obtain plastic samples. It is a risk-reduction step that validates the product and the process before major production investment. By testing real materials, moldability, dimensions, assembly, and performance early, manufacturers can reduce expensive steel changes and avoid late-stage launch problems.
HPDI combines prototype tooling, molded-part validation, engineering support, and low-volume manufacturing in one workflow. Projects can begin by reviewing the company’s prototype injection molding capabilities, manufacturing examples, and quotation requirements before submitting CAD data for evaluation.
Copyright 2026(C) HUAWEI PRODUCT DEVELOPMENT INDUSTRIAL LTD (2009-2024)
All Rights Reserved
marketing@prototypeinjectionmold.com
Contact Information :
Byron Wang
Phone: +86- 86-755-8238-2595
Mobile: +86-139-2383-5403
Email: marketing@prototypeinjectionmold.com
HPDI (HUAWEI PRODUCT DEVELOPMENT INDUSTRIAL LTD)
Address:Building 3, Puxia Industrial Zone, Liuyue, Henggang St., Longgang District, Shenzhen., China